These pictures I took with my point and shoot camera over spring break at our ranch.
 On this picture I just played with the saturation and contrast. I wish I could fix the letters so that they would be facing the right way, but I don't know how to do that. The color of the sky is so pretty in this picture and that is why i chose it, plus it reminds me of home.
 This is a picture of our sign for our ranch. I cropped it and straightened it a little and also played with the shading a bit to make the whites stand out a bit more.
  In this picture I edited the white balance to warm it up a bit, because it was kind of blue. I also too out some water spots that were in the clouds.
 These pictures were taken on Dave's Canon EOS 20D
 I took this photo at the SAS awards ceremony. I cropped this picture in to get rid of distractions in the background. I turned it black and white to get rid of the distracting colors, because I really wanted the focus to be on their facial expressions.
 In this photo I decided to put a sepia vignette over it and to put a blur and black vignette on the corners to draw the focus to her face. I also cropped in to get rid of a distracting couch. I tried to make her the main focus of the photo.
 In this photo i also cropped in to avoid distractions, like a tree in the background, and I added a sepia vignette to it to tone down the colors so they weren't a distraction to the facial expressions.
  Once again I cropped in to avoid distractions, and I turned it black and white to keep the focus on the people and to avoid the distracting colors. I also boosted the brightness to make them stand out more and boosted the sharpness to put more definition to their faces.
 All the photos from the SAS awards banquet were shot with the same settings. Shutter: 1/200, Aperture:f/4 and ISO: 1600. I realize now that these might not have been the right settings, but I still got good pictures. I used the flash on the camera, and Dave's big lens.
 Shutter: 1/1000, Aperture: f/4, ISO: 200
The editing that I did was to crop it in, and then add an antique tint to it, I also blurred the edges to make her stand out more, I brightened it a little also.
 Shutter: 1/1000, Aperture: f/4, ISO: 1600
In editing this photo I brightened it up and cropped it it. I didn't really have to do a whole lot of editing to it.
 Shutter: 1/400, aperture: f/4, ISO: 200
This one I cropped from the bottom to get rid of a thing on the wall. I also faded the color a bet to tone down the brightness of her shirt. I then painted in the wings, they aren't the best things ever, but believe it or not this took me for forever.
 Shutter: 1/1250, Aperture: f/4, ISO: 200
In editing this picture I cropped it in to avoid a distracting background, I also lightened up under her eyes and toned down the color a little bit.
 Shutter: 1/500, Aperture: f/4, ISO: 200
I also cropped this photo in and brightened it up. I didn't have to do much to this photo.
 Shutter: 1/160, Aperture: f/4, ISO: 400
We shot this as a fill light, where the model stood in front of the light, then we had strong flashes on her that made the background even more white. I had to clone out a few spots in the white background and i also put a black a vignette on the corners.
 Shutter: 1/500, Aperture: f/4, ISO: 200
I showed this picture in class, but I didn't know if I could show it again. I added more of a vignette to it, and then turned it black and white to avoid distracting colors. I also sharpened it and did some editing to her hair.
 Shutter: 1/400, Aperture: f/4, ISO: 200
In editing this I cropped it in on all sides. I also boosted the contrast and saturation to make her stand out more. I played with the tint to make the grass more green and her eyes pop more.
 Shutter: 1/640, Aperture: f/4, ISO: 200
This picture is different, but I like the perspective the bars give. I cropped this pic in and made it sharper so that there was more detail on her. I also played with the tint to make the bars more white than they were and I painted in some of the bar where the paint had chipped.
 Shutter: 1/50, Aperture: f/4, ISO: 400
In this photo I straightened it to crop out a distracting board in the background, i also lightened it up a bit, and played with the shading to make the face on the nose stand out more.
 Shutter: 1/50, Aperture: f/4, ISO: 400
I also cropped this photo to avoid a sign in the background. I lightened it up to make the faces stand out more, and i had to clone out a sign in the background.
 Shutter: 1/500, Aperture: f/5.6, ISO: 400
I took this up on the rims. I played with the shading to make it look more like a silhouette and then cropped it in to make it less distracting, i also cloned out some cars and tail lights.
 Shutter: 1/50, Aperture: f/4, ISO: 400
In editing this I also played with the shading to make it look like a silhouette, I cropped in and played with the tint to make it a bit warmer than it was.
 Shutter: 1/15, Aperture: f/4, ISO: 400
With this picture I played with the tint to make the tree more green. As well as adding a white vignette on the corners to get rid of distracting foreground and to draw more of a focus to the tree.
 Canon rebel XSI Shutter: 1/250, Aperture: f/4.5, ISO:1600
I cropped this photo in to get rid of excess people. I also turned it black and white and brightened it.
The next 4 photos were shot with Dave's, Canon EOS 5D.
 Shutter: 1/4. Aperture: f/4, ISO: 6400
 There was a lot of light from the cars, flashes, and reflectors on me. I didn't take this picture, but was the model, and i edited it. I made it sepia, because i liked the way the lights stood out in the background, and the way the city reflected off of my glasses. I also cropped it in and did a little cloning on my sunglasses.
 Shutter: 1/6, Aperture: f/4.9, ISO: 6400
I edited this picture by making it black and white, I also cropped it up to get rid of distracting foreground, as well as in on the sides to get rid of some grass. I also lightened it up a bit and played with the sharpness to make me stand out more. There was car lights, flashes, and a reflector used for light.
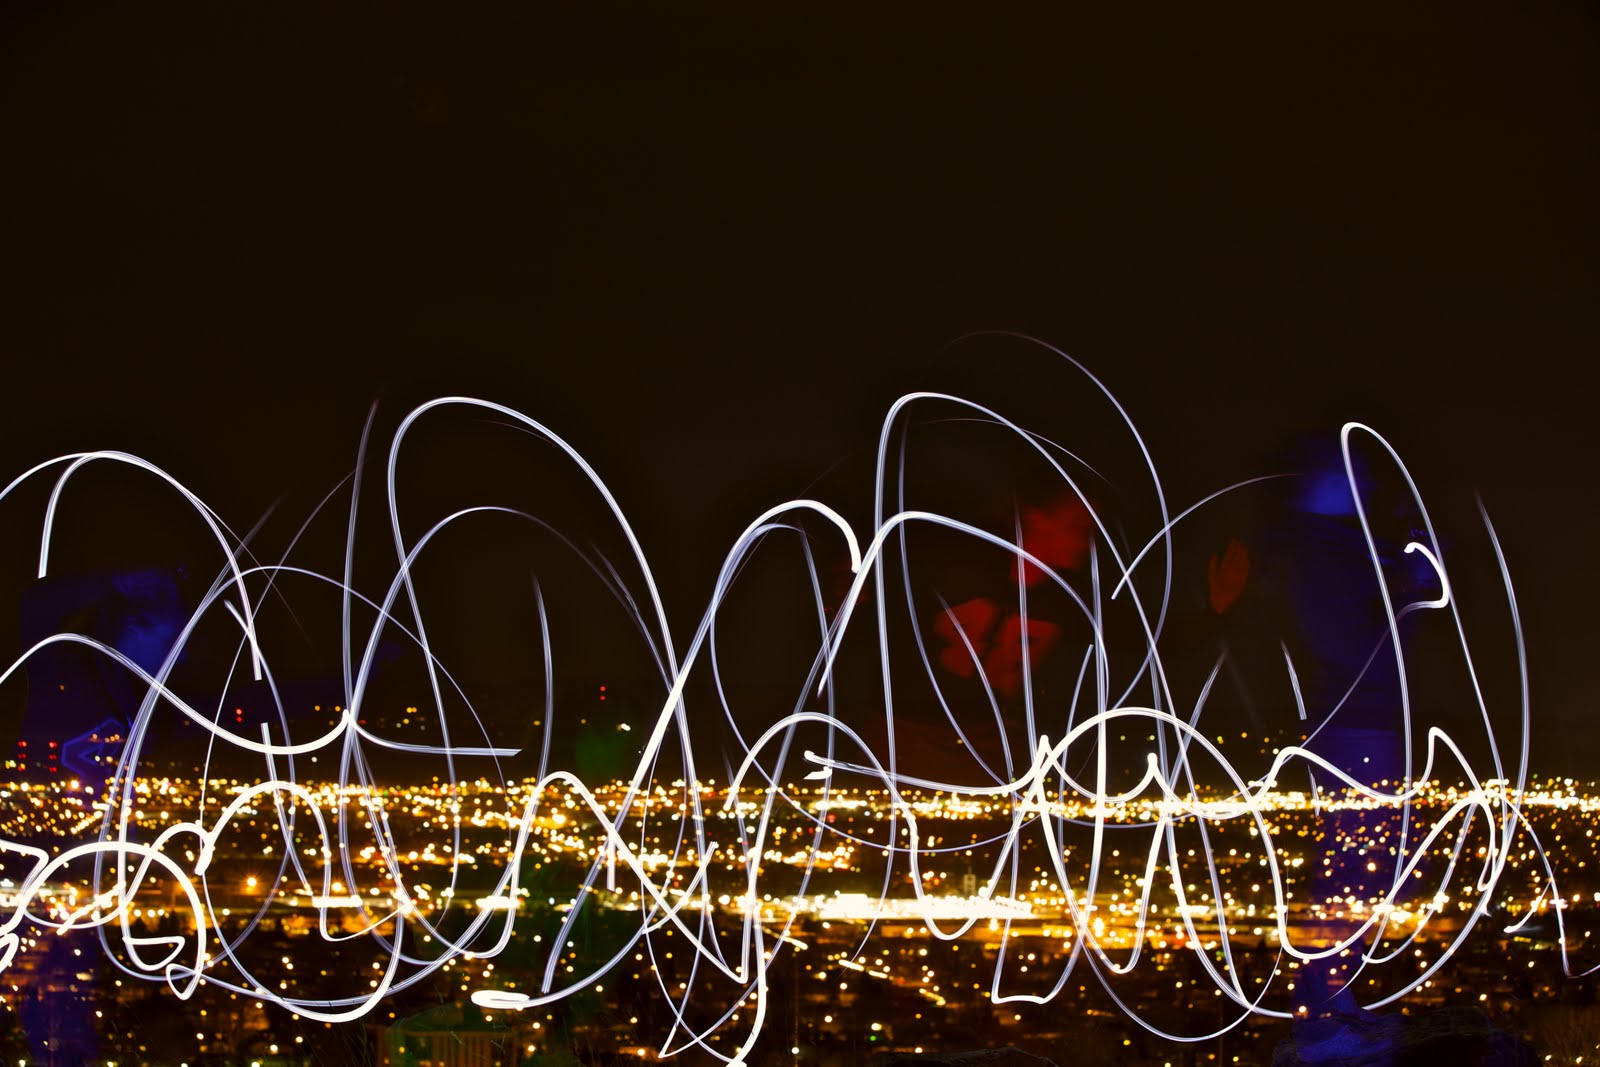
 Shutter: 30/1, Aperture: f/4.9, ISO: 100
In this photo I had a flashlight and we were painting with light. In editing it i cloned out some of the people in the background and that is about it.
 Shutter: 30/1, Aperture: f/4.9, ISO: 100
I didn't edit this at all, I liked it the way that it was. :)
The following 3 photos were shot with a canon EOS 40D, and the same settings. Shutter: 1/60, Aperture: f/4, ISO: 400.

I cropped this one in and down. I also made it black and white to make it less distracting. I polished up his face, and brightened him up a bit.

With this one i also cropped it in and made it black and white. I fixed the blemishes on his face, and made the photo brighter.

I showed this on in class, but I fixed it by cropping it in on the one side where there was a door, and cloning out distracting stuff by his feet. I also fixed up some of the cloning from before int the top corners. I made it black and white because the door was orange and it was distracting.
my 30th picture will not load, but once i re-save it it will be up!


